Cesium 绘制点线面
一、前言
在Cesium三维地球应用开发中,绘制点、线、面是最基础也是最常用的功能。本文将详细介绍如何在Cesium中使用两种不同的API(Entity API和Primitive API)来实现点、线、面的绘制,并提供丰富的代码示例和参数说明。
二、环境准备
在开始之前,请确保你已经按照之前的教程搭建了Cesium + Vite项目环境:
- Cesium:^1.128.0
- vite-plugin-cesium:^1.2.23
- Vue3:^3.5.13
- Node.js:v22.13.0 或更高版本
- pnpm:10.5.0 或更高版本
三、API选择
Cesium提供了两种主要的API来绘制几何元素:
| API类型 | 特点 | 适用场景 |
|---|---|---|
| Entity API | 高级API,使用简单,自动管理细节 | 快速开发、原型制作、数据量较小的场景 |
| Primitive API | 底层API,性能更好,控制更精细 | 大量数据、复杂场景、需要高度自定义的场景 |
四、使用Entity API绘制
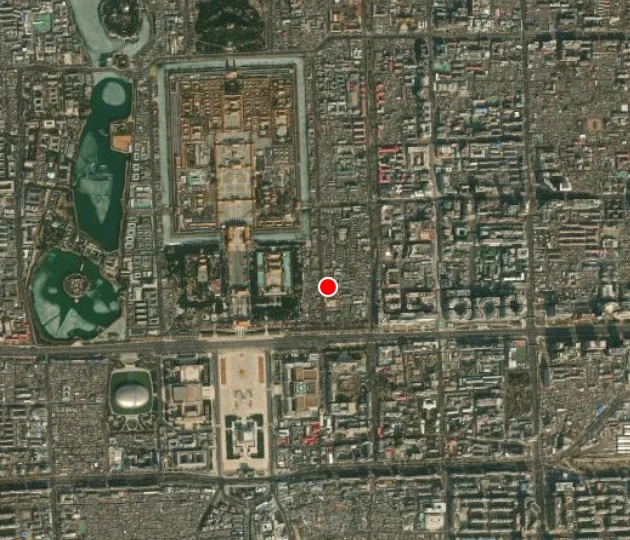
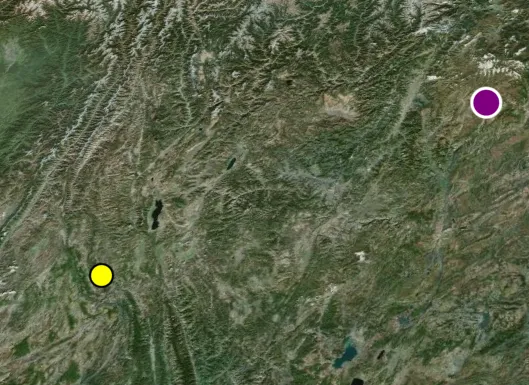
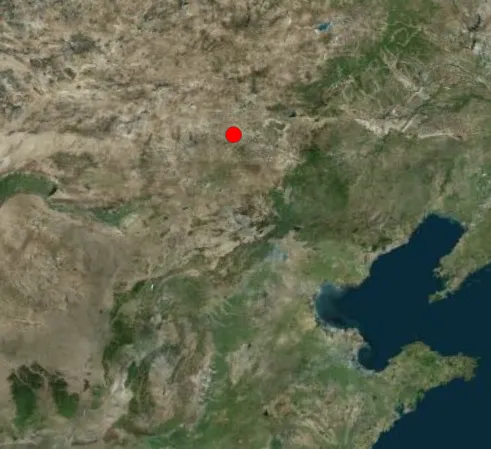
1. 绘制点
1 | // 绘制单个点 |
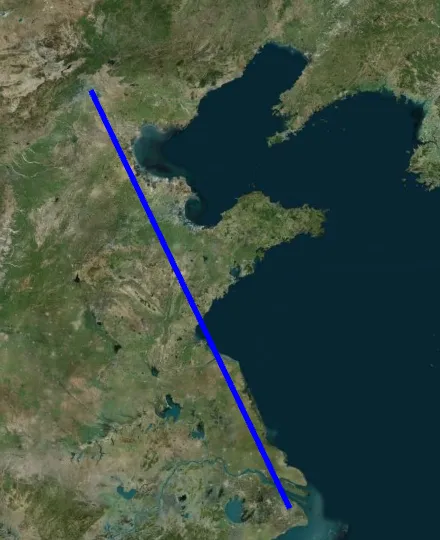
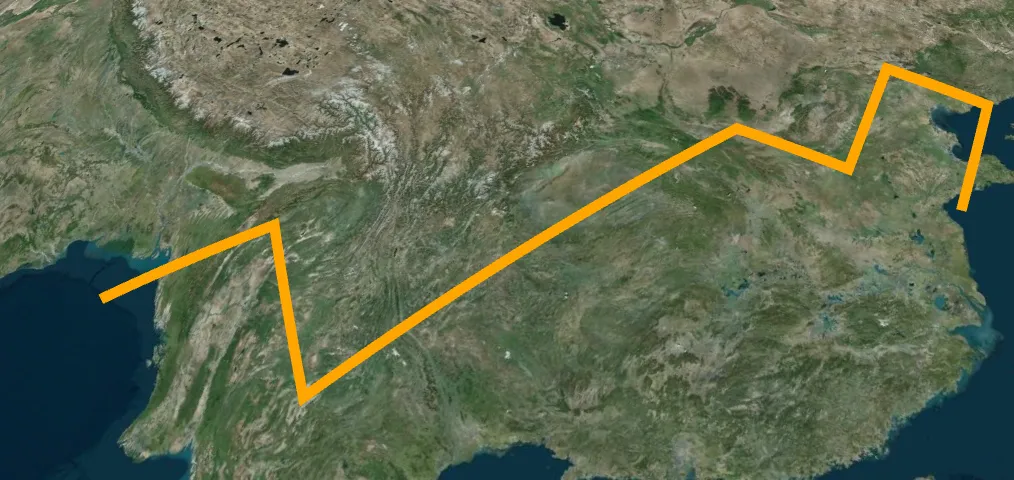
2. 绘制线
1 | // 绘制简单线段 |
普通线与贴地线的区别
高度处理方式:
- 普通线:默认情况下,线会按照指定的坐标直接绘制,不考虑地形高度,可能会穿透地形
- 贴地线:使用
clampToGround: true后,线会自动贴合地形表面,随地形起伏而变化
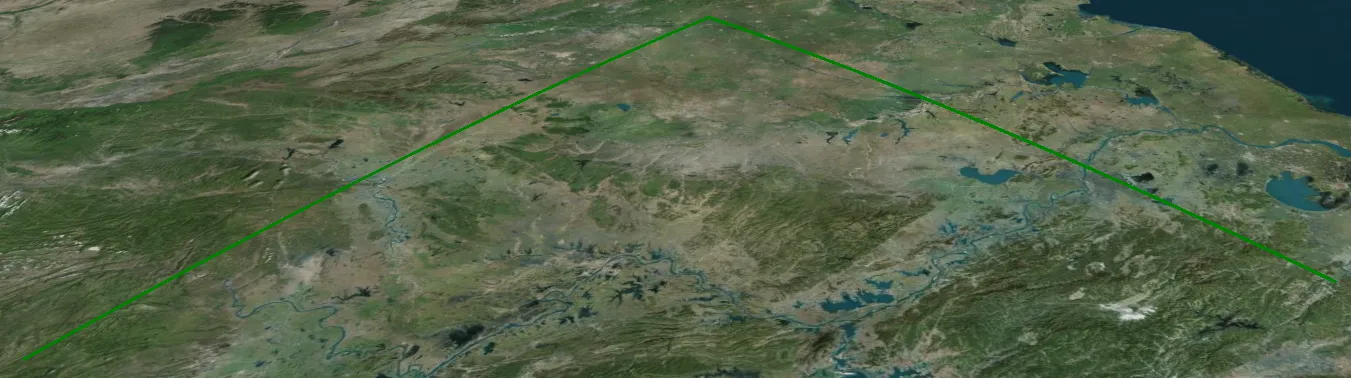
视觉效果:
- 普通线:在山区等地形起伏较大的区域,可能会出现线悬浮在空中或穿入地下的情况
- 贴地线:始终保持在地形表面,与地形完美贴合,视觉效果更真实
适用场景:
- 普通线:适用于表示空中航线、抽象连接线等不需要考虑地形的场景
- 贴地线:适用于表示道路、铁路、管线等实际存在于地面的线性要素
性能影响:
- 普通线:绘制性能较高,计算简单
- 贴地线:需要额外的地形数据处理,性能开销略高

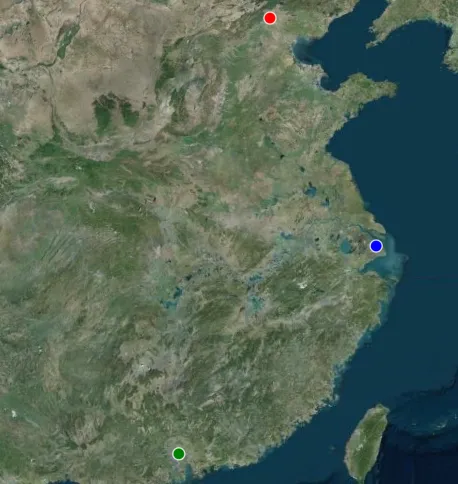
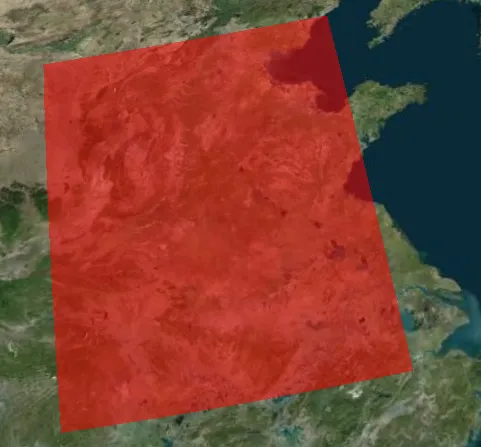
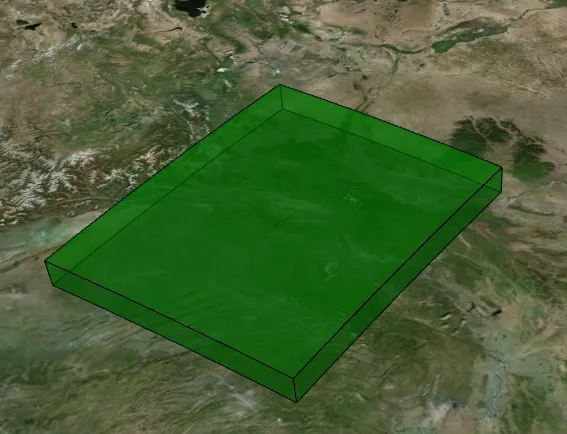
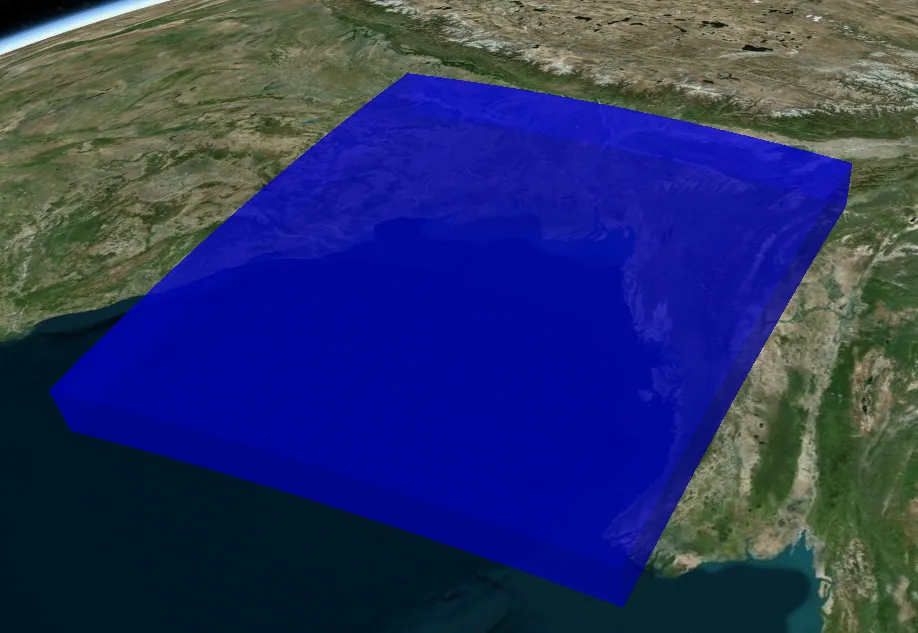
3. 绘制面
1 | // 绘制矩形 |
五、使用Primitive API绘制
1. 绘制点
1 | // 创建点集合 |
2. 绘制线
1 | // 创建线几何实例 |
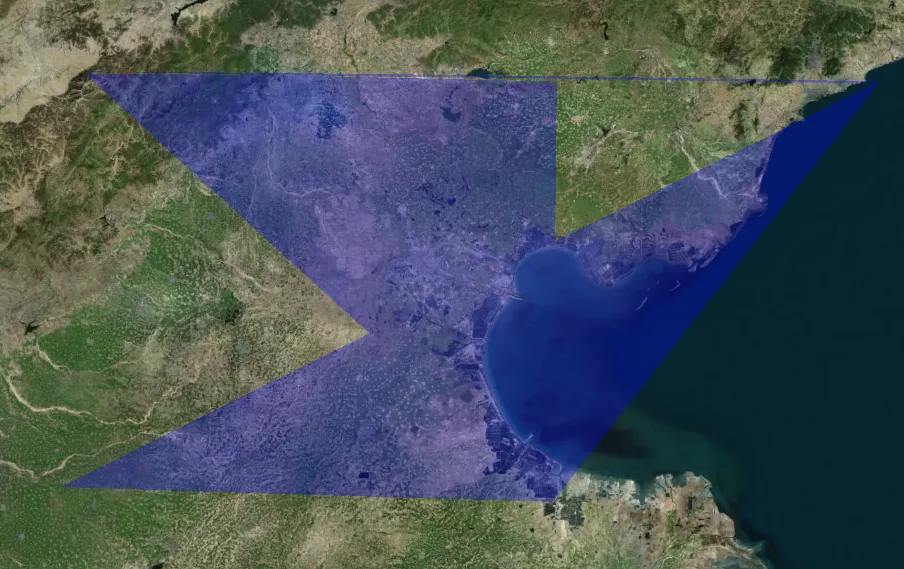
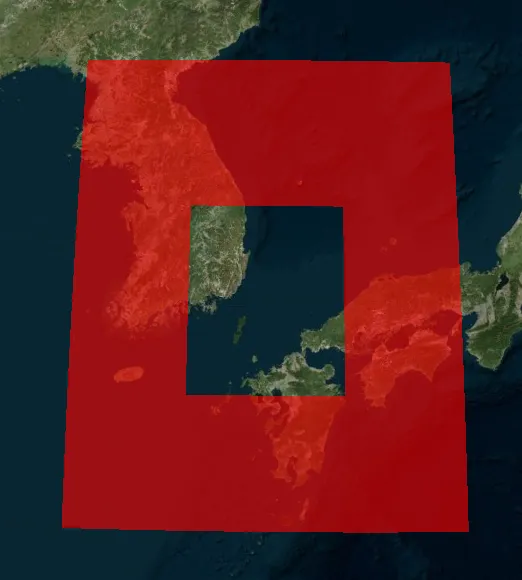
3. 绘制面
1 | // 创建多边形几何实例 |
六、高级功能
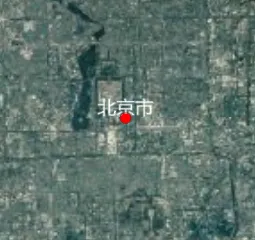
1. 文字标注
1 | // 带文字标注的点 |
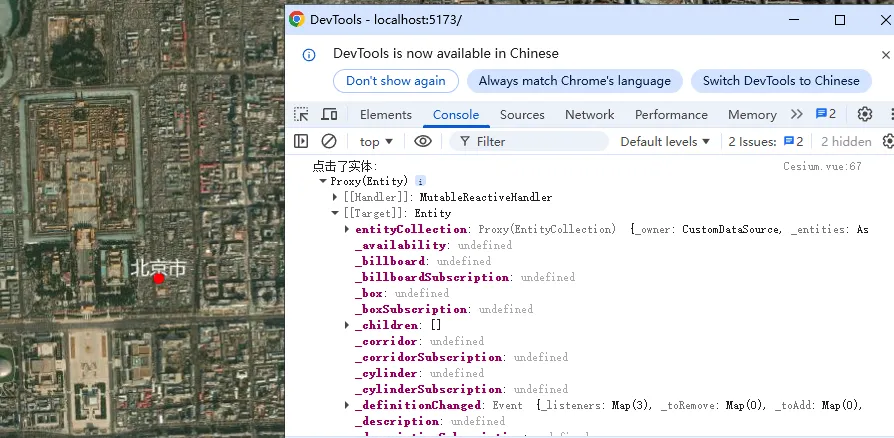
2. 鼠标交互
1 | // 点击实体显示信息 |
3. 动态效果
1 | // 动态点 |
会看到点在不断移动,形成动态效果。
七、性能优化建议
数据量较大时使用Primitive API:当需要绘制大量点线面时,Primitive API的性能优于Entity API
使用批处理:将多个相同类型的几何元素合并到一个Primitive中,减少绘制调用
合理设置可见性:对于远距离不可见的元素,设置合适的距离范围
使用LOD(Level of Detail):根据相机距离动态调整几何复杂度
避免频繁更新:对于静态数据,一次性创建完成,避免频繁修改
清理不需要的实体:及时移除不再需要的实体和Primitive,释放内存